| View previous topic :: View next topic |
| Author |
Message |
Jwong123
Basic Member

Joined: 23 Feb 2007
|
0.  Posted: Fri Feb 23, 2007 8:20 pm Post subject: Help! DDR Metal Pad Problems Posted: Fri Feb 23, 2007 8:20 pm Post subject: Help! DDR Metal Pad Problems |
 |
|
Hey, I'm retarded and I bought a metal pad from DDRfitness.com
This is the pad i purchased:
http://www.ddrgame.com/psdadaremeda1.html
I know i should done research and discovered this site before purchasing but unfortunately it's too late. I bought it 2 days ago and have played on it for around 10 hours or so. The up arrow now no longer is functioning besides one little spot on the bottom part of the up arrow. I am really confused and I'm really really mad. I was wondering if any of you awesome tech people can tell me how to mod it to fix this problem or how to fix this problem to get it functioning again. I am sorry if this is in the wrong section.
PLEASE HELP. =(. I'm going to cry and i spent my 1 month of work on this stupid pad. |
|
| Back to top |
|
 |
ChilliumBromide
Trick Member


Joined: 16 Jun 2006
Location: Beaverton, OR |
1.  Posted: Fri Feb 23, 2007 9:42 pm Post subject: Re: Help! DDR Metal Pad Problems Posted: Fri Feb 23, 2007 9:42 pm Post subject: Re: Help! DDR Metal Pad Problems |
 |
|
| Jwong123 wrote: | Hey, I'm retarded and I bought a metal pad from DDRfitness.com
This is the pad i purchased:
http://www.ddrgame.com/psdadaremeda1.html
I know i should done research and discovered this site before purchasing but unfortunately it's too late. I bought it 2 days ago and have played on it for around 10 hours or so. The up arrow now no longer is functioning besides one little spot on the bottom part of the up arrow. I am really confused and I'm really really mad. I was wondering if any of you awesome tech people can tell me how to mod it to fix this problem or how to fix this problem to get it functioning again. I am sorry if this is in the wrong section.
PLEASE HELP. =(. I'm going to cry and i spent my 1 month of work on this stupid pad. |
The wire came loose on the sensor. When you hit the bottom of the panel, it SOMETIMES reconnects the wire. How to fix it:
Just take the panel off and use electrical tape to reattach the wire. =)
If you can solder the wire back on, that'll work better, but put electrical tape over there the wire connects to the sensor on all your panels, to hold them on.
_________________
I used to be active here lol |
|
| Back to top |
|
 |
Jwong123
Basic Member

Joined: 23 Feb 2007
|
2.  Posted: Sun Feb 25, 2007 1:31 pm Post subject: Posted: Sun Feb 25, 2007 1:31 pm Post subject: |
 |
|
| What do mean? Where is this sensor? I'll take a picture of it then maybe i can understand more =). Thanks for taking the time to help me. |
|
| Back to top |
|
 |
ChilliumBromide
Trick Member


Joined: 16 Jun 2006
Location: Beaverton, OR |
3.  Posted: Sun Feb 25, 2007 4:26 pm Post subject: Posted: Sun Feb 25, 2007 4:26 pm Post subject: |
 |
|
| Jwong123 wrote: | | What do mean? Where is this sensor? I'll take a picture of it then maybe i can understand more =). Thanks for taking the time to help me. |
Right under the defective arrow. =)
Just unscrew whatever screws are holding it in (the two at the corners, I guess), take the panel off carefully (if it has LED's attached, there will be wires attached to the panel, and if you snap them, no more LED's.), and there should be a sort of a chip with 2 flat pieces of metal in comb shapes, alternating lines. I'm 99% certain that's the problem area. There should be a yellow and a white wire going to them, and I'm pretty sure one is disconnected. Check them.
Goodluck,
-Tofu
_________________
I used to be active here lol |
|
| Back to top |
|
 |
Jwong123
Basic Member

Joined: 23 Feb 2007
|
4.  Posted: Mon Feb 26, 2007 12:38 pm Post subject: Posted: Mon Feb 26, 2007 12:38 pm Post subject: |
 |
|
Sorry for wasting your time Tofu but I'm sill confused lol =(. Here are pics so maybe i can understand better.
Picture # 1
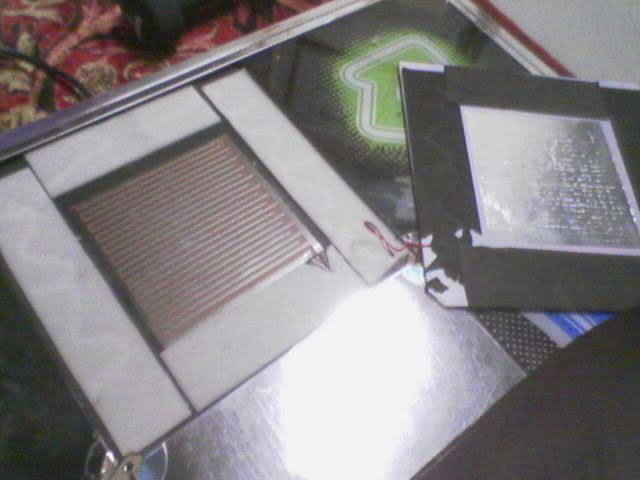
Picture # 2
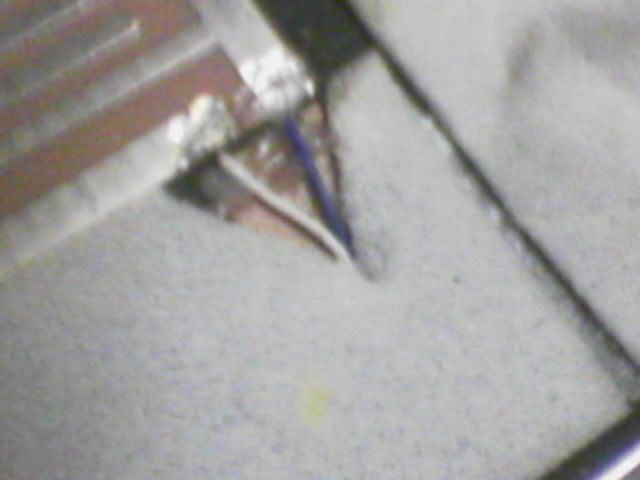
Picture # 3
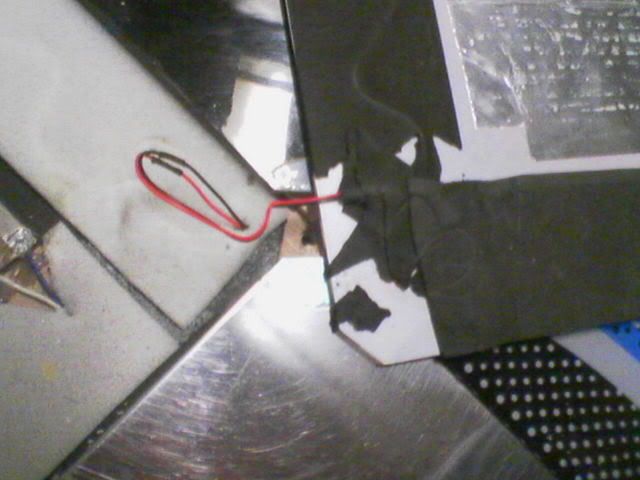
Picture # 4
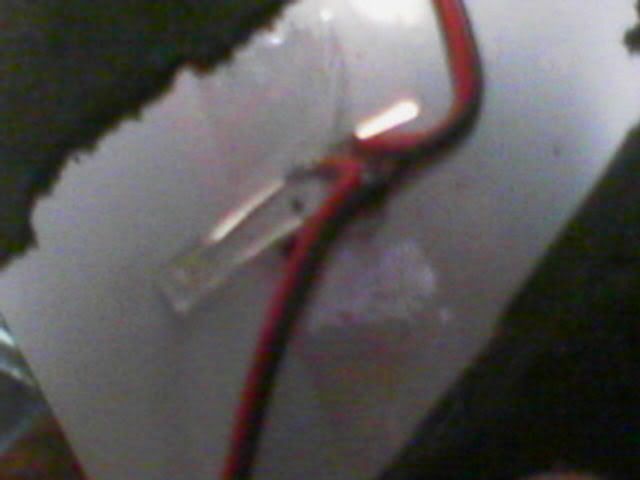
Picture # 5
When you talk about the comb shape are you talking about the panel it self (like the comb wiggly shape of the wires in the 5th picture) or do you mean the comb shape under the panel where the blue and white wires are. Are those two wires supposed to be closely touching?
 |
|
| Back to top |
|
 |
Jwong123
Basic Member

Joined: 23 Feb 2007
|
5.  Posted: Mon Feb 26, 2007 7:33 pm Post subject: Posted: Mon Feb 26, 2007 7:33 pm Post subject: |
 |
|
| Ok now i understand that the bottom of the panel itself are the LEDS (which ive broke besides one because I'm so frick confused) and no i know that the blue and whtie wire in picture 2 is the problem. But how do i fix it is what I'm asking. It seems fine to me. Do i resoder the wire to the metal plate even though they seem to be fine already orr what? Please help. |
|
| Back to top |
|
 |
Jwong123
Basic Member

Joined: 23 Feb 2007
|
6.  Posted: Mon Feb 26, 2007 7:35 pm Post subject: Posted: Mon Feb 26, 2007 7:35 pm Post subject: |
 |
|
| DancingTofu wrote: | | Jwong123 wrote: | | What do mean? Where is this sensor? I'll take a picture of it then maybe i can understand more =). Thanks for taking the time to help me. |
Right under the defective arrow. =)
Just unscrew whatever screws are holding it in (the two at the corners, I guess), take the panel off carefully (if it has LED's attached, there will be wires attached to the panel, and if you snap them, no more LED's.), and there should be a sort of a chip with 2 flat pieces of metal in comb shapes, alternating lines. I'm 99% certain that's the problem area. There should be a yellow and a white wire going to them, and I'm pretty sure one is disconnected. Check them.
Goodluck,
-Tofu |
Where is this chip you speak of? |
|
| Back to top |
|
 |
ChilliumBromide
Trick Member


Joined: 16 Jun 2006
Location: Beaverton, OR |
7.  Posted: Mon Feb 26, 2007 11:52 pm Post subject: Posted: Mon Feb 26, 2007 11:52 pm Post subject: |
 |
|
I was referring to the sensor plate that the blue and white wire are attached to. It looks connected, but the connection might be weak. Wiggle both wires up and down gently and look closely where it's attached. If it looks like the little chunk of sodder is coming on and off even partially, that's probably the problem. Resodder it and it should be fine.
DO NOT DO ANYTHING BEYOND THIS POINT IF YOUR PAD IS COVERED BY WARRANTY! RETURN IT FOR A NEW ONE AND LET THEM FIX IT!
If that's not it, then I'm guessing that the metal frame has stripped and damaged a wire on the underside of the pad. This happened with one of mine once. To fix this problem, you'll have to open the underside of the pad. If it's like mine, you'll have to feel around the bottom of the pad until you feel something like a small indent or irregularity in the base. Then, cut off the foam over that area and you should find a screw there; expect 6-12 screws in all (I had 7 in one of mine and 10 in the other). If you find an empty screw hole, don't be alarmed: I found about 20 on the bottom of each of mine. Once you have the base off, look closely all the way along all the wires, looking for any breakages or other damage. Use electric tape to fix any problem areas.
And while you're in there. . .
When you've done all this, if you found no breakages, look at the chip at the top of the pad and see if there's anything unusual about it. There should be a rectangular piece of foam front an center (lolgetit), and on the other side should be a small chip where all the wires converge. That's what you should be looking at. If there's something unusual about it, take a picture of it (hold the camera as steady as you can please!) and post it, and I'll try to work with you from there.
Hope this helped,
-Tofu
_________________
I used to be active here lol |
|
| Back to top |
|
 |
|


