| View previous topic :: View next topic |
| Author |
Message |
Momo -YHB-
Trick Member


Joined: 15 Feb 2003
Location: Killeen, Texas |
40.  Posted: Sun Apr 30, 2006 4:09 pm Post subject: Posted: Sun Apr 30, 2006 4:09 pm Post subject: |
 |
|
Its the controller board no doubt.
My homebuilt pad uses a sony ps1 pcb and works fine
At first I used a madcats pcb, and I had the same problem as you.
My suggestion would either take a sony pcb or use a pcb from a soft dance pad.
_________________
|
|
| Back to top |
|
 |
Marq(uistadorous)
Trick Member


Joined: 03 Aug 2005
Location: Arvada, CO |
41.  Posted: Sun Apr 30, 2006 6:42 pm Post subject: Posted: Sun Apr 30, 2006 6:42 pm Post subject: |
 |
|
What is a pcb? And I DID use the control box from my old soft pad...
And as in controll board, do you mean the thing I soldered all my wires to, or the metal dance platform itself? Sorry, I'm just not understanding what you're saying...
_________________
|
|
| Back to top |
|
 |
-Scorpion-
Trick Member

Joined: 16 Feb 2005
|
42.  Posted: Mon May 01, 2006 10:29 am Post subject: Posted: Mon May 01, 2006 10:29 am Post subject: |
 |
|
The pcb is the board in the gamepad/controlbox where the chip and everything else is mounted and connected together.
With controlbox I mean the black bock that connects to your PS2.
Ok so you said the connector from your metalpad (the one that goes into the controlbox) is a male one, with pins instead of holes? We seem to have different versions.
Just take a multimeter, connect one side of it to the metal sensor under each arrow and try to find the corresponding pin on the connector with the other one. Then write down your pinout.
For Example: Hold one side of the multimeter on the metal under your right arrow. Make sure to use the right metal strip, since there are two different ones under the arrows (the arrow and GND). Now hold the other side of the multimeter on the pins of the connector one after another, until you find the one that gives you about 0 Ohms resistance. Then use that pin as a reference for connecting your homepad. |
|
| Back to top |
|
 |
mtwieg
Trick Member


Joined: 06 Sep 2004
Location: Ù
٠اÙÙØ§Ø¶Ø Ø§ÙÙ Ùا اعب اÙجÙÙÙ |
43.  Posted: Mon May 01, 2006 10:44 am Post subject: Posted: Mon May 01, 2006 10:44 am Post subject: |
 |
|
schmitt triggers ftw.
if you don't know a lot about electronics, then you're probably not going to be able to fix it. Madcatz pcbs always worked fine for me, and I've built about a dozen pads.
_________________
|
|
| Back to top |
|
 |
-Scorpion-
Trick Member

Joined: 16 Feb 2005
|
44.  Posted: Tue May 02, 2006 11:01 am Post subject: Posted: Tue May 02, 2006 11:01 am Post subject: |
 |
|
Wth should he use schmitt triggers?
All he needs to do is connect his tx controlbox right. If it works properly with his metalpad, it will work properly with his homepad.
Just because the madcatz works with your homepad doesn't mean it works with everything. If your arrows are made fully or partially of wood, you don't have problems with static charges and can use whatever gamepad you want to. |
|
| Back to top |
|
 |
Marq(uistadorous)
Trick Member


Joined: 03 Aug 2005
Location: Arvada, CO |
45.  Posted: Tue May 02, 2006 2:24 pm Post subject: Posted: Tue May 02, 2006 2:24 pm Post subject: |
 |
|
YES!!! I hooked up my pad to my control box, and now, the pad is problem free!!! I just found the correct pins to solder to by taking a wire and connecting each end to random pins until I figured it out!!! It only took a couple minutes!! Now, I can't find any problems with it! I've only played like 8 songs on it, but that'll change in just a few minutes  Thanx scorpion and everyone for your help! Thanx scorpion and everyone for your help! 
_________________
|
|
| Back to top |
|
 |
Marq(uistadorous)
Trick Member


Joined: 03 Aug 2005
Location: Arvada, CO |
46.  Posted: Tue May 02, 2006 5:34 pm Post subject: Posted: Tue May 02, 2006 5:34 pm Post subject: |
 |
|
I've played my pad for a couple of hours and it's pretty good. The pad has a couple VERY minor problems. On VERY fast drills like disconnected 16ths drills (200bpm), It's hard to get them all because... well don't know. And sometimes, I will hit a couple mines that I shouldnt, cause the pad is VERY sensitive. But I didn't hit any on charlene, and just a few on vertex. And also, I was trying to AAA butterfly upswing on challenge, which I have done several times before on my old pad, and I almost always got 1 almost. I THINK it was the left arrow. So I opened up the panel and tightened some loose wires, so it should be better now. I give my pad 4 out of 5 stars. Here are some pics of the scores I got with it. (sorry they're so huge  ) )


AAA You got to move it heavy

2 greats- Daikenkai challenge

I also got an 83% on Vertex (no bar of course, just like the scores above)
_________________
|
|
| Back to top |
|
 |
-Scorpion-
Trick Member

Joined: 16 Feb 2005
|
47.  Posted: Wed May 03, 2006 10:21 am Post subject: Posted: Wed May 03, 2006 10:21 am Post subject: |
 |
|
Nice to hear that everything works well now.
Btw, could you please make your pics with scores smaller?
Could you take pictures of your contacts and explain how you did them? That's always the most interesting part of homepads imo.
-Scorpion- |
|
| Back to top |
|
 |
slvrshdw
Trick Member

Joined: 05 Jan 2005
|
48.  Posted: Wed May 03, 2006 2:54 pm Post subject: Posted: Wed May 03, 2006 2:54 pm Post subject: |
 |
|
yes, please get pics of the contacts for me too 
_________________
|
|
| Back to top |
|
 |
Marq(uistadorous)
Trick Member


Joined: 03 Aug 2005
Location: Arvada, CO |
49.  Posted: Wed May 03, 2006 3:26 pm Post subject: Posted: Wed May 03, 2006 3:26 pm Post subject: |
 |
|
| -Scorpion- wrote: | Btw, could you please make your pics with scores smaller?
|
How do I do that? I'm using photobucket if that matters...
And yes, I'll take pics of the contacts in a while, but it's exactly like the ones on this http://teamd5r.freevideoblog.com/search/pad/0/3C12F50E-1DB7-4798-ACAF-D5BFB9254219.htm video (video 4). But I just didn't solder the wires to the screws. I just tightly wrapped the wires around the screws using a needle nose plyer.
_________________
|
|
| Back to top |
|
 |
vesper
Trick Member

Joined: 06 Dec 2005
|
50.  Posted: Wed May 03, 2006 5:13 pm Post subject: Posted: Wed May 03, 2006 5:13 pm Post subject: |
 |
|
I hate you, you're so much better at DDR than I am 
Awesome job with the pad man, I'm really getting down to work on mine soon, hopefully you'll be able to help me out with any problems I run in to because I'm following RipTide's design as well  |
|
| Back to top |
|
 |
DARREN HAYEZ
Trick Member


Joined: 13 Apr 2006
Location: Michigan |
51.  Posted: Sat May 06, 2006 1:22 pm Post subject: Posted: Sat May 06, 2006 1:22 pm Post subject: |
 |
|
That thing looks awsome!
I wish I had the determination and skills to make my own pad.
_________________
|
|
| Back to top |
|
 |
Marq(uistadorous)
Trick Member


Joined: 03 Aug 2005
Location: Arvada, CO |
52.  Posted: Thu May 25, 2006 8:09 pm Post subject: Posted: Thu May 25, 2006 8:09 pm Post subject: |
 |
|
I have now put my bar on my pad  . I do plan to paint it red in the future: . I do plan to paint it red in the future:
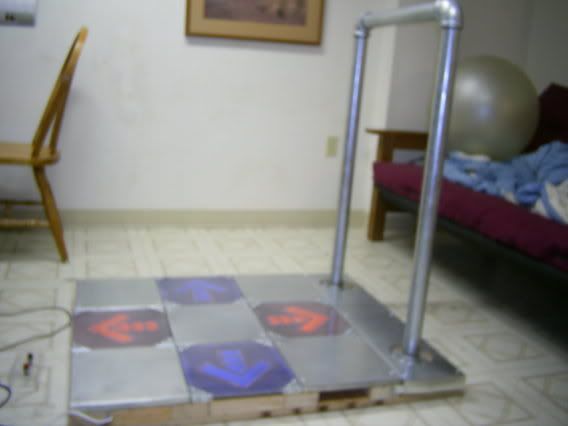
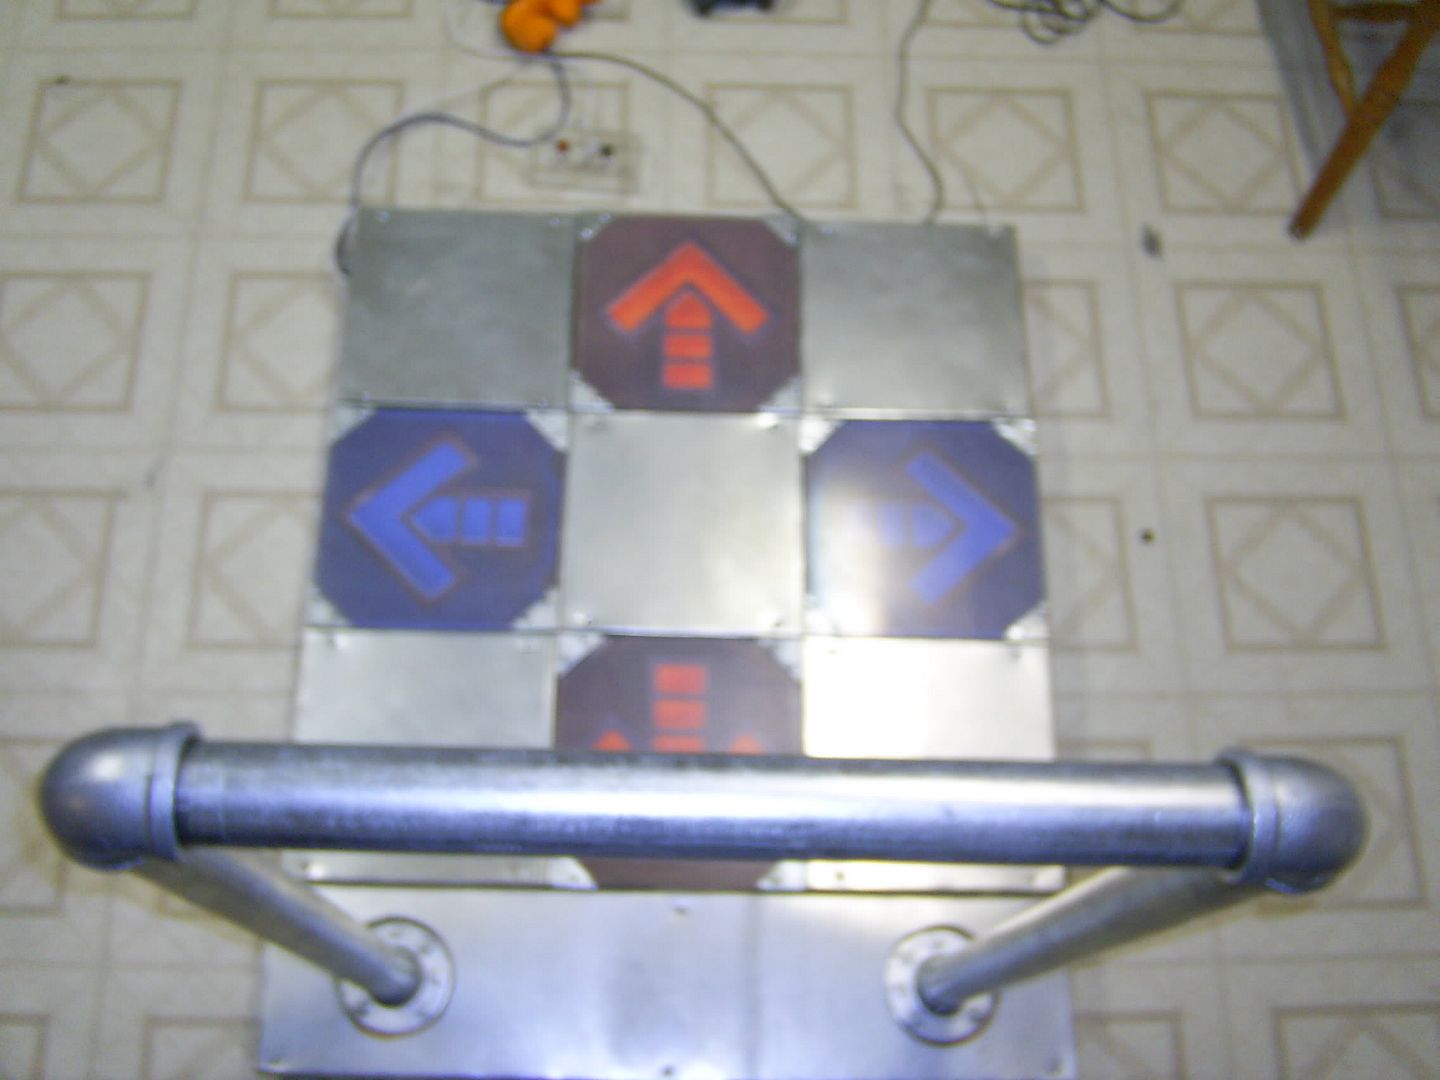
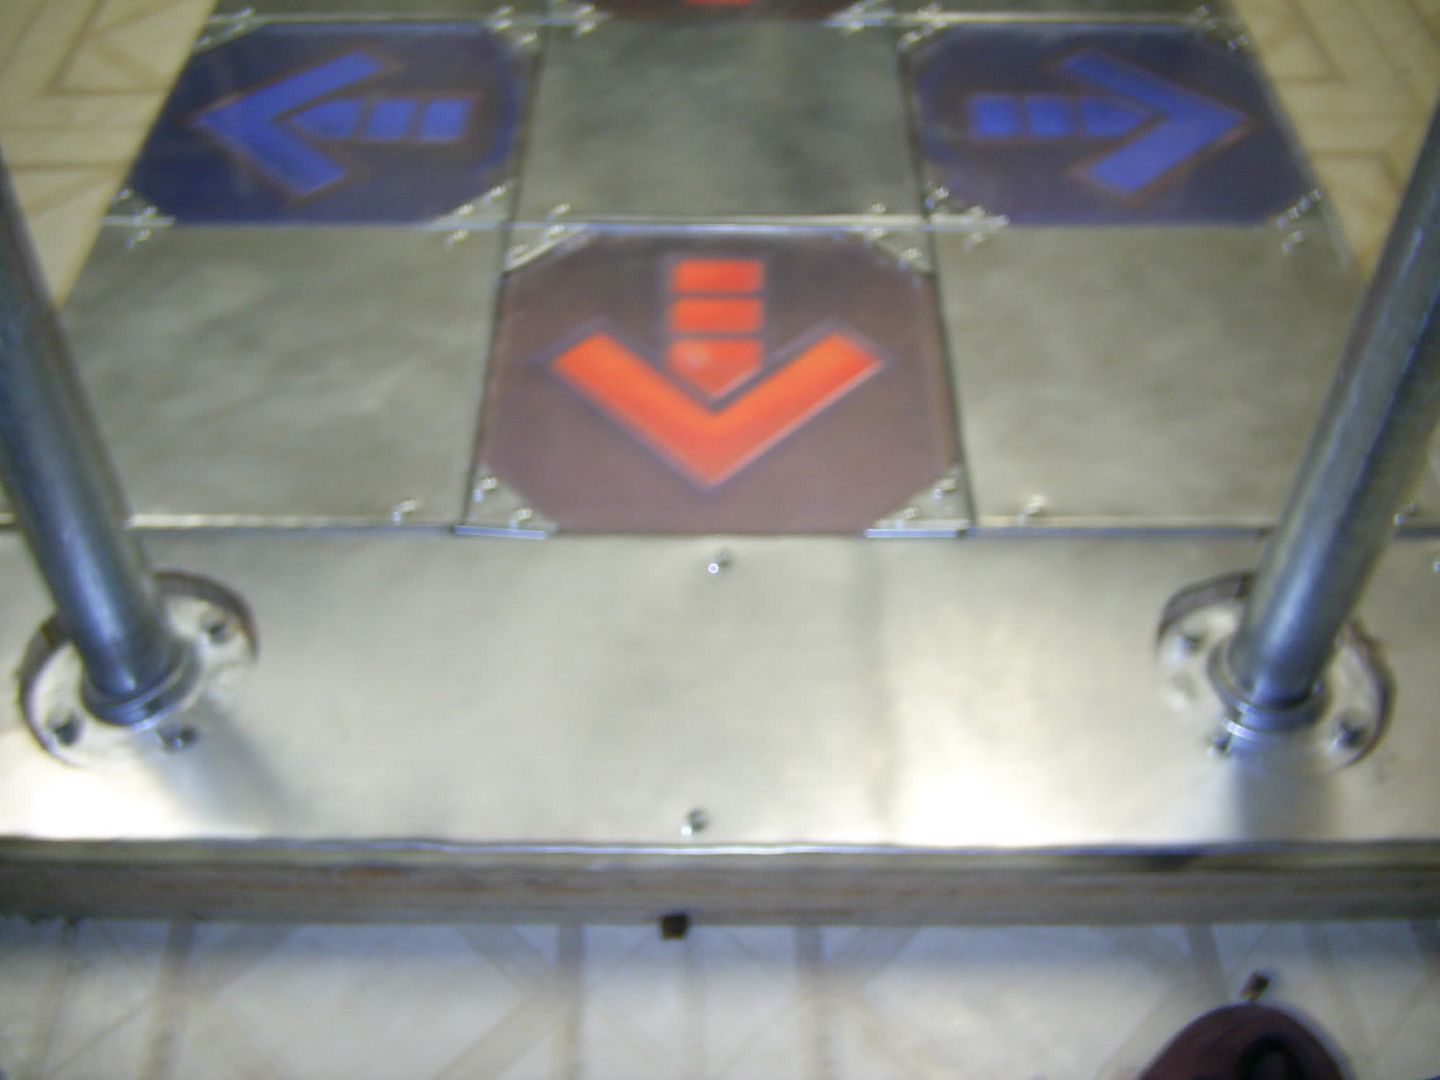
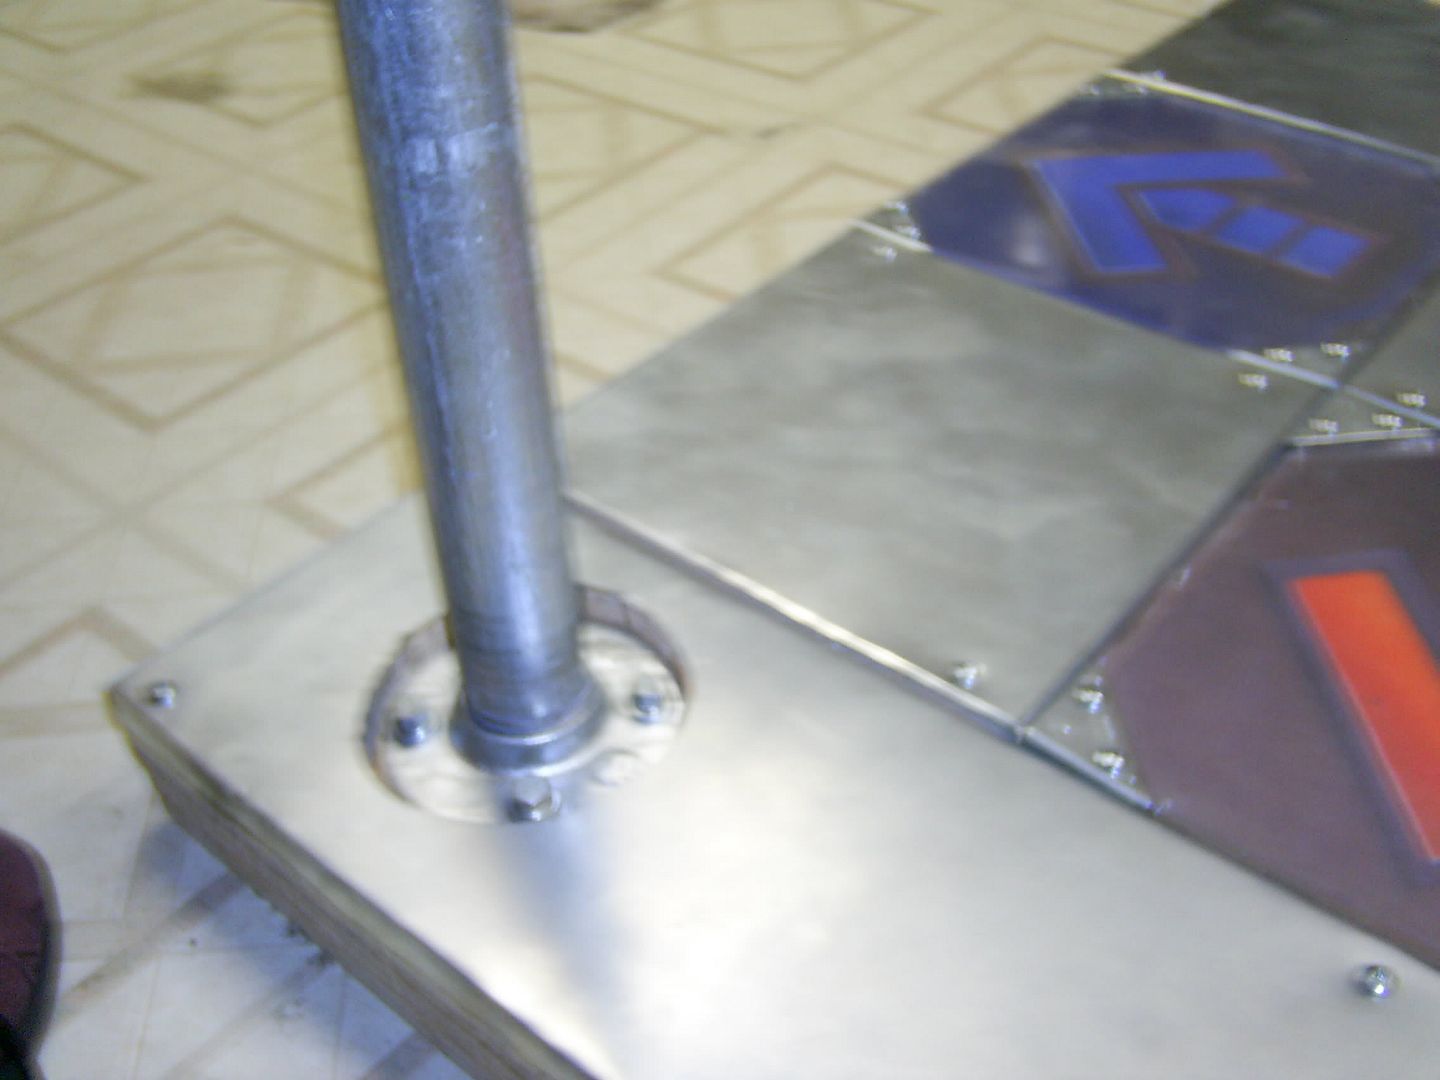
So yeah, I'm pretty much finished and it's working great.  . The bar is rather sturdy too. . The bar is rather sturdy too.
_________________
|
|
| Back to top |
|
 |
Marq(uistadorous)
Trick Member


Joined: 03 Aug 2005
Location: Arvada, CO |
53.  Posted: Thu May 25, 2006 8:10 pm Post subject: Posted: Thu May 25, 2006 8:10 pm Post subject: |
 |
|

_________________
|
|
| Back to top |
|
 |
orb
Trick Member


Joined: 20 Nov 2002
|
54.  Posted: Sun Jun 18, 2006 9:45 am Post subject: Posted: Sun Jun 18, 2006 9:45 am Post subject: |
 |
|
That looks awesome.  Congrats. Does the pad still work great after a month or so? Congrats. Does the pad still work great after a month or so? |
|
| Back to top |
|
 |
TheJpitch
Basic Member

Joined: 08 Jun 2006
|
55.  Posted: Sun Jun 18, 2006 11:42 am Post subject: Posted: Sun Jun 18, 2006 11:42 am Post subject: |
 |
|
yeah dude how is it?
are you having to tighten down the wiring at all?
_________________
Bow Chia Bowwowwwwwwwww |
|
| Back to top |
|
 |
Marq(uistadorous)
Trick Member


Joined: 03 Aug 2005
Location: Arvada, CO |
56.  Posted: Mon Jun 19, 2006 4:39 pm Post subject: Posted: Mon Jun 19, 2006 4:39 pm Post subject: |
 |
|
Yeah it's still good. And once I tightened the wires, they stayed tight so that's good. I'm gonna fix my up arrow tonight though. I mean it works, but it just sucks on freeze arrows and sometimes misses. I just need to flatten out the contacts (screws) I think.
_________________
|
|
| Back to top |
|
 |
orb
Trick Member


Joined: 20 Nov 2002
|
57.  Posted: Mon Jun 19, 2006 5:02 pm Post subject: Posted: Mon Jun 19, 2006 5:02 pm Post subject: |
 |
|
Videos?  |
|
| Back to top |
|
 |
vesper
Trick Member

Joined: 06 Dec 2005
|
58.  Posted: Mon Jun 19, 2006 5:09 pm Post subject: Posted: Mon Jun 19, 2006 5:09 pm Post subject: |
 |
|
What do you mean tighten down the wiring? Why would that help?
On mine I have to lower the screws on one panel because a connection is always being made, but I don't think there is any problem with the actual wires. |
|
| Back to top |
|
 |
marcan
Trick Member

Joined: 28 Jul 2005
|
59.  Posted: Thu Jun 22, 2006 6:53 am Post subject: Posted: Thu Jun 22, 2006 6:53 am Post subject: |
 |
|
Just open up your photos in an image editing program and make them smaller. If you don't have one, get Gimp (you need to install the GTK runtime and GIMP itself). It's free and comparable to Photoshop. Otherwise, there are plenty of smaller programs that will do it for you (Irfanview is one of them, it lets you view almost any kind of image file and apply simple changes like resize).
Considering your photos are quite blurry too, you're not losing much by making it smaller. Man, those things take a while to load even for my 1meg DSL, I wonder how dialup guys are coping with them  |
|
| Back to top |
|
 |
|


 Thanx scorpion and everyone for your help!
 )
)


